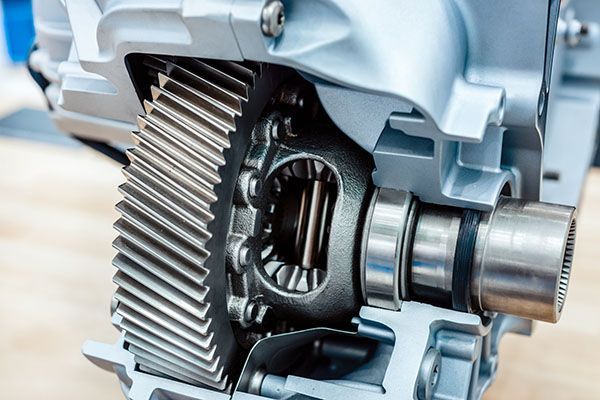
Your vehicle's differential is the unsung hero that ensures smooth turns and optimal power distribution between wheels. To keep it running like a well-oiled machine, quite literally, regular maintenance is key. Changing the differential oil might sound like a daunting task, but with the right tools, a bit of know-how, and some elbow grease, you can tackle this DIY project at home!
Tools and Materials You'll Need:
- Jack and Jack stands
- Wrenches and sockets
- Drain pan
- Funnel
- Differential oil (check your vehicle's manual for specifications)
- Safety gloves and goggles
STEP 1: PREPARATION AND SAFETY
Safety first! Park your vehicle on a level surface and engage the parking brake. For extra security, place wheel chocks behind the front and rear wheels. Put on your safety gloves and goggles before you begin.
STEP 2: JACKING UP THE VEHICLE
Using a jack, carefully lift the rear of your vehicle until the wheels are off the ground. Always follow proper jacking procedures and place jack stands under the vehicle for support. Safety is paramount.
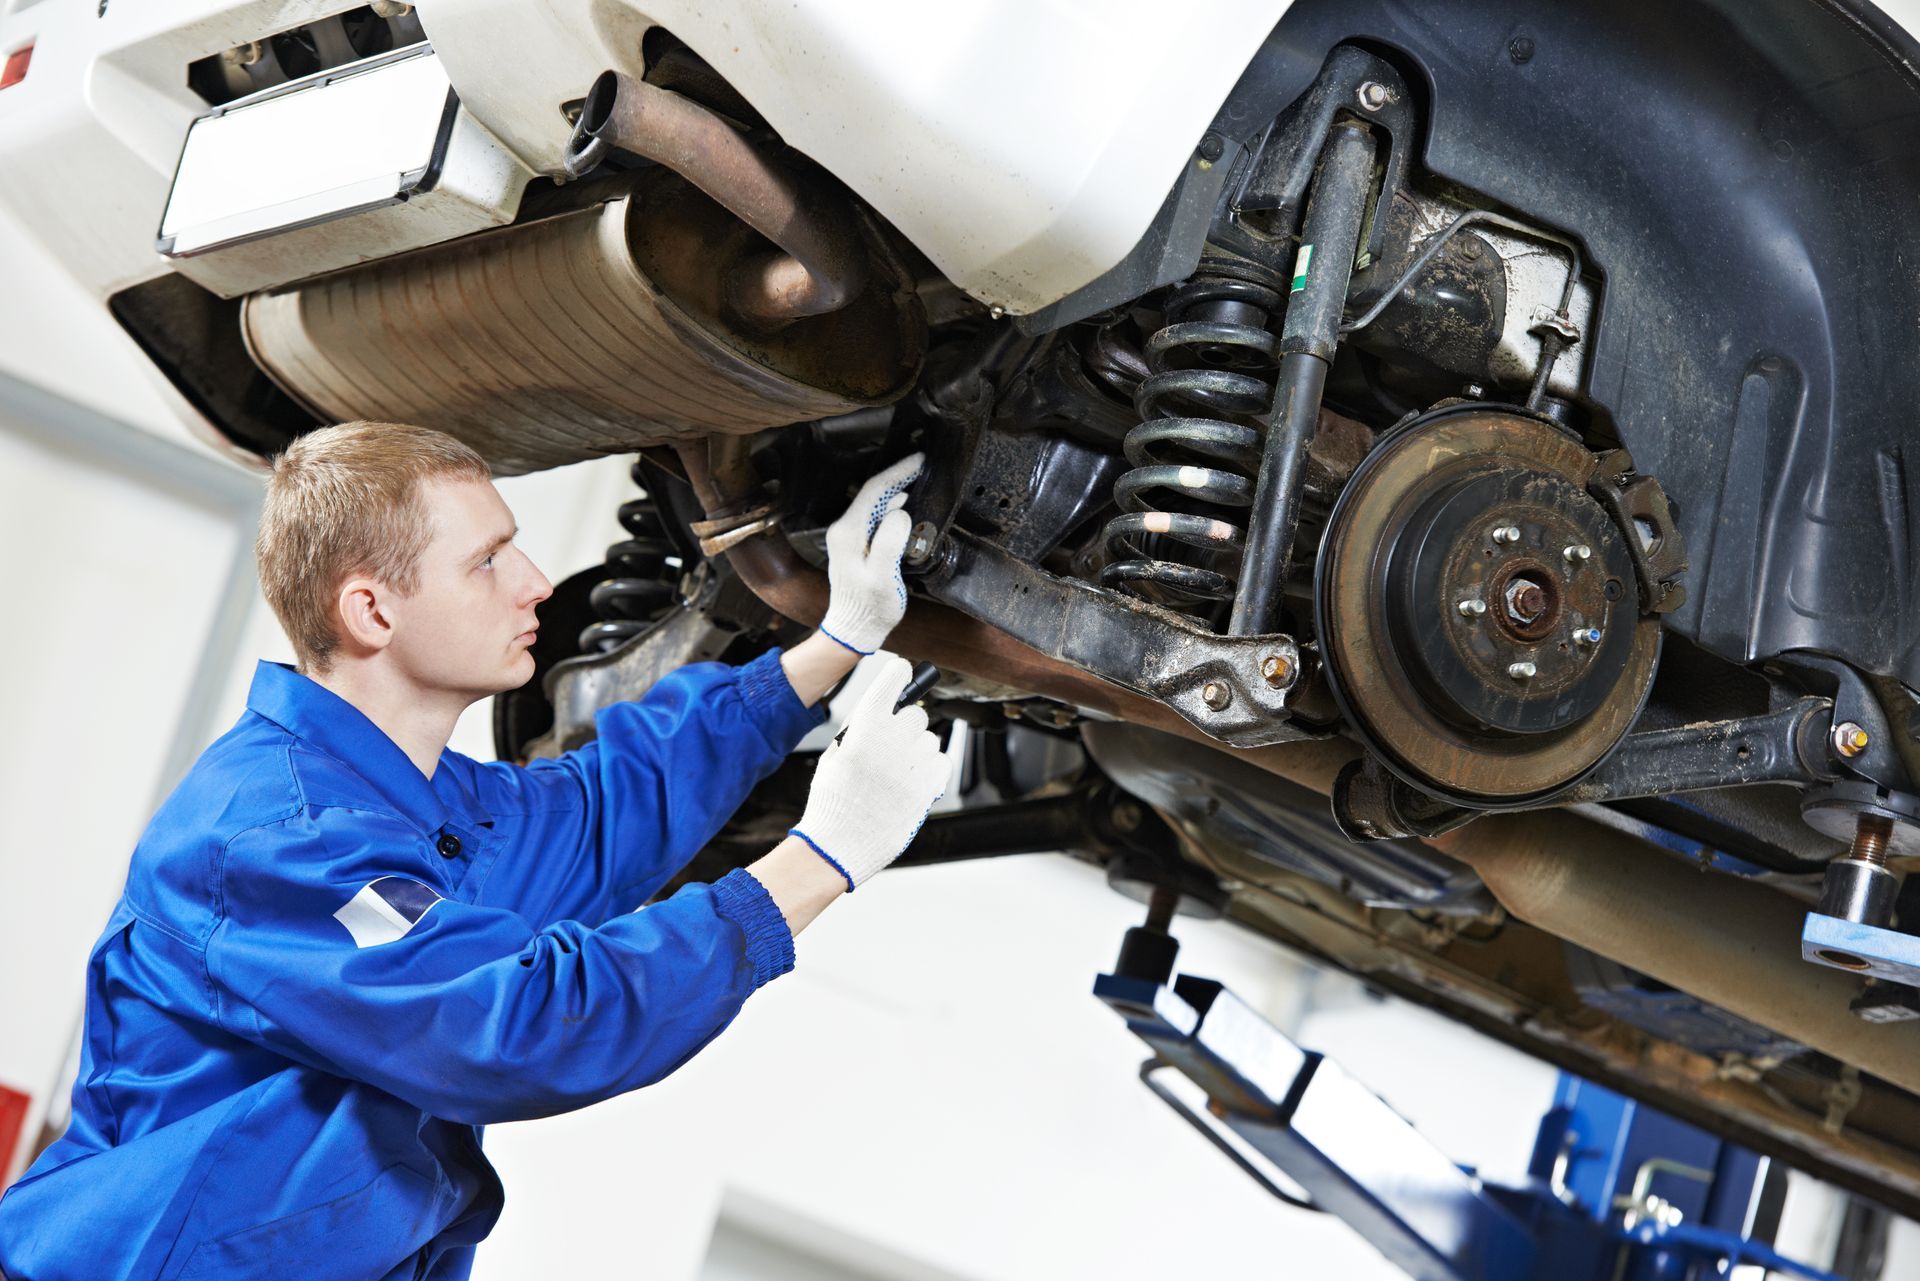
STEP 3:LOCATE THE DIFFERENTIAL
Crawl under the vehicle and locate the differential. It's usually a bulky, metal housing situated between the rear wheels.
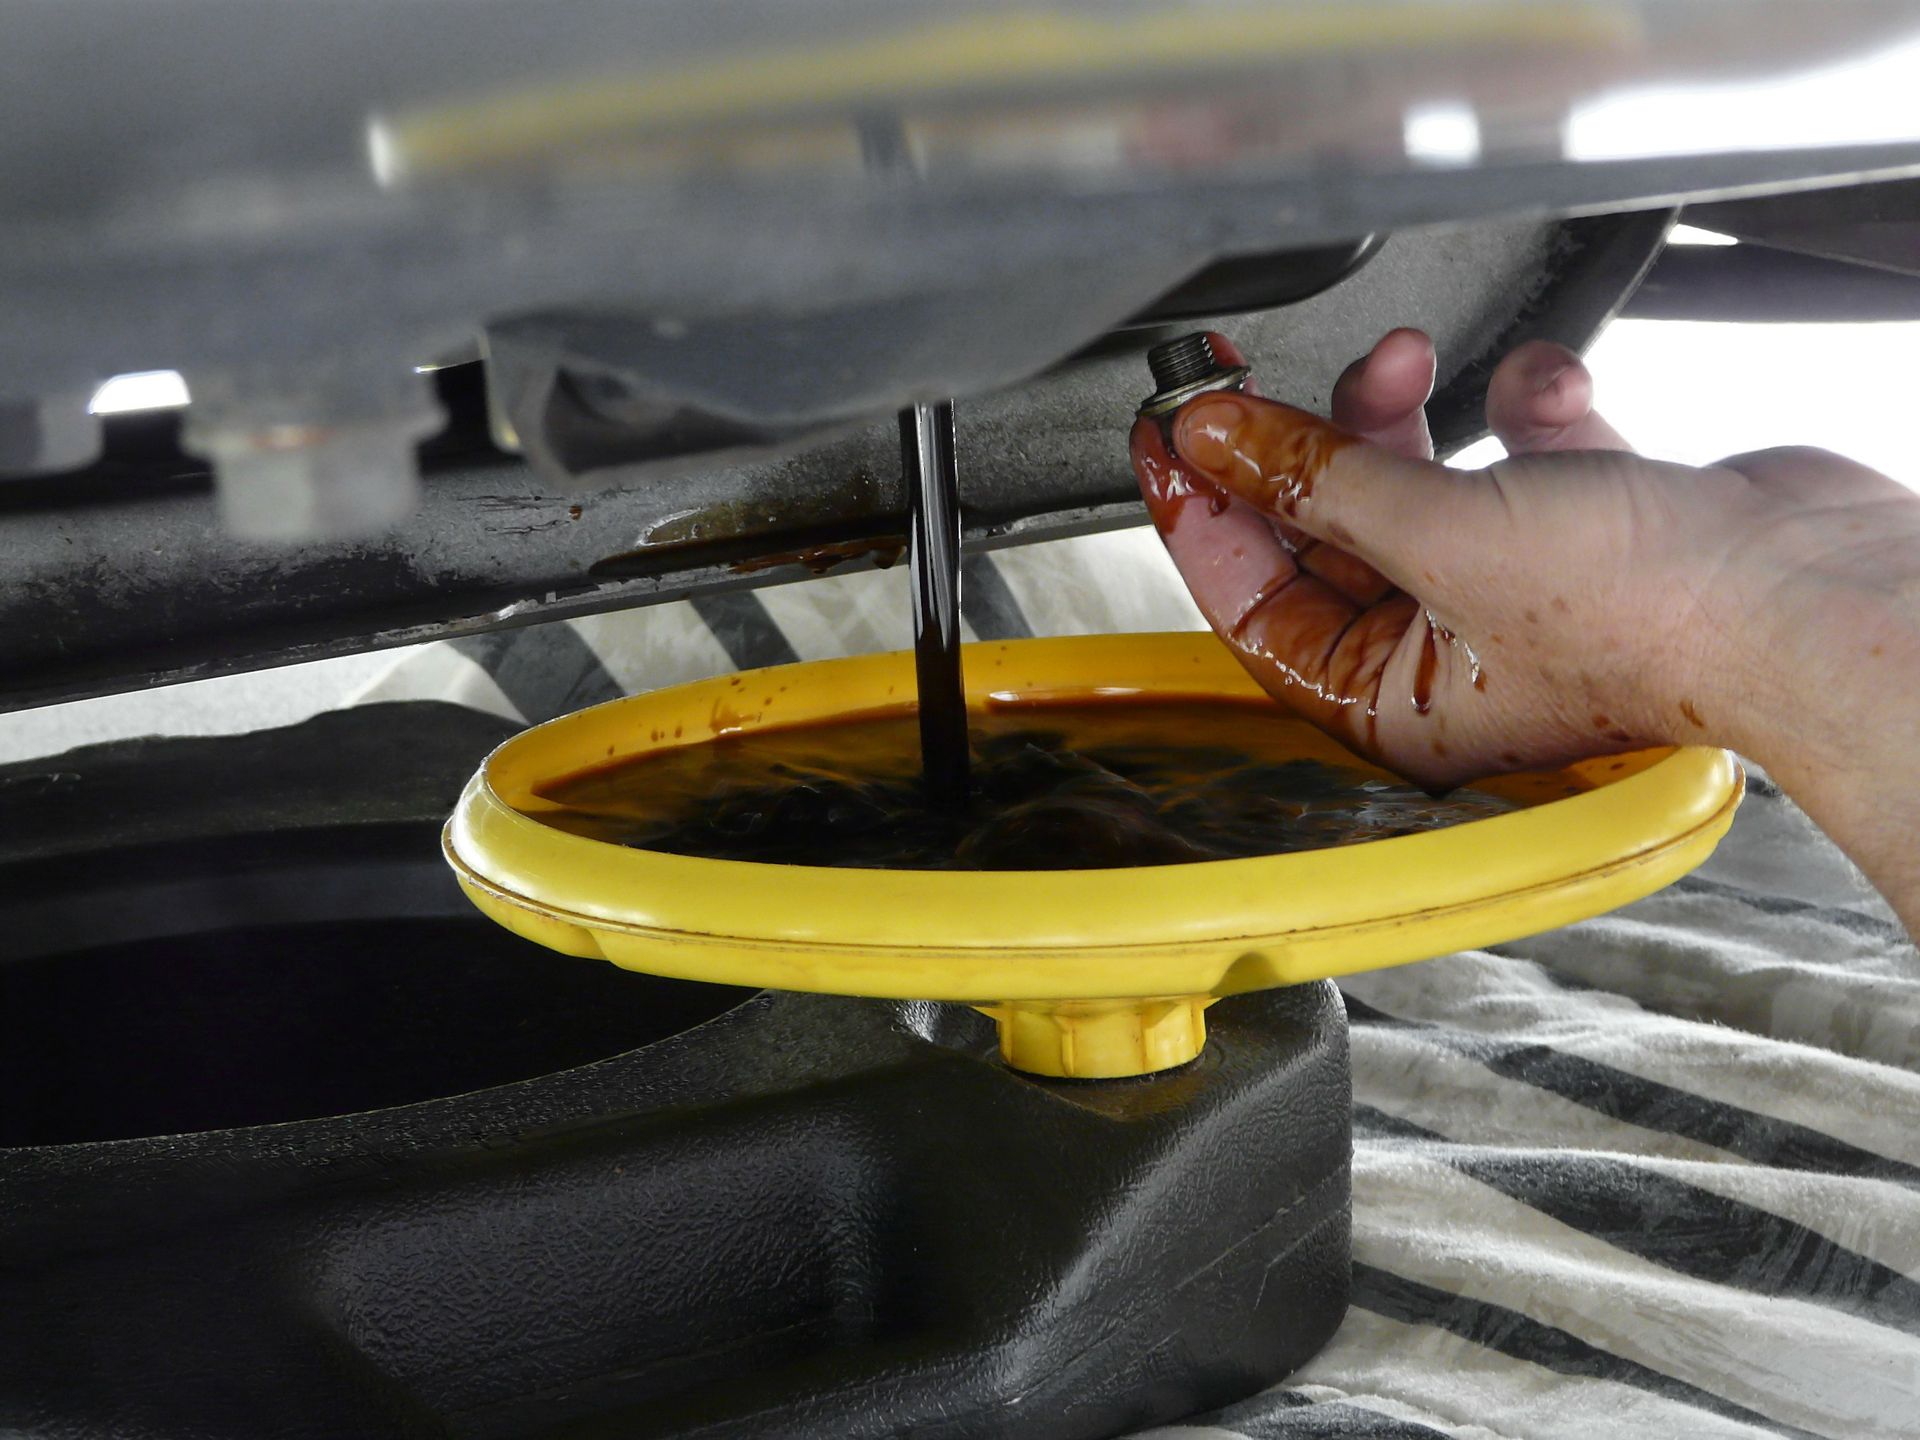
STEP 4:DRAIN THE OLD OIL
Position the drain pan under the differential. Loosen and remove the differential's drain plug using an appropriate wrench or socket. Allow the old oil to drain completely into the pan.
STEP 5: INSPECT AND CLEAN
While the oil is draining, take a moment to inspect the drain plug and ensure the threads are in good condition. Wipe off any excess oil around the drain plug area and clean the surrounding area.
STEP 6: REFIT THE DRAIN PLUG
Once the old oil has fully drained, clean the drain plug and apply a new crush washer if necessary. Carefully thread the drain plug back into place and tighten it to the manufacturer's recommended torque specification.
STEP 7: FILL WITH NEW DIFFERENTIAL OIL
Using a funnel, slowly pour the recommended amount of fresh differential oil into the filler hole on the differential housing. Refer to your vehicle's manual for the correct oil type and capacity.
STEP 8: CHECK THE OIL LEVEL
Let the oil settle for a few minutes, then check the oil level using the dipstick or fill plug. Add more oil if needed until the level reaches the appropriate mark.
STEP 9: CLEAN UP
Wipe off any spilled oil and ensure everything is tidy before lowering the vehicle.
STEP 10: LOWER THE VEHICLE
Carefully lower the vehicle off the jack stands using the jack.
While this DIY project is quite simple, we won't blame you if you get stuck somewhere. Just call BG Automotive and we will have you in the shop in no time!